Experiments
Opening the Console
- While logged in, open the qNinja Lite console. If you are not logged in yet, click the "Login" link at the top right of the screen to log in.
-
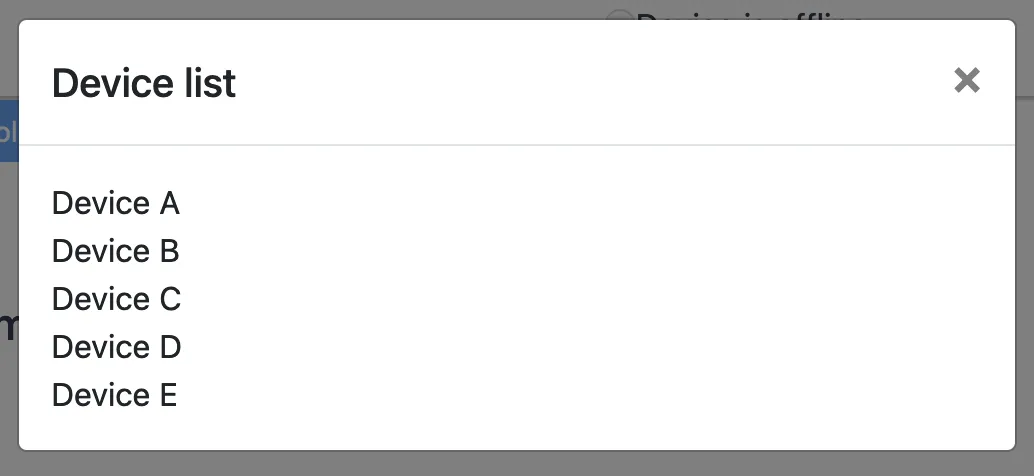
A list of devices registered to your account will be displayed. Select the device you wish to use.
Preparing the Experiment Protocol
To run an experiment, a protocol including temperature, hold time, and timing of fluorescence measurement is needed.
Creating a Protocol
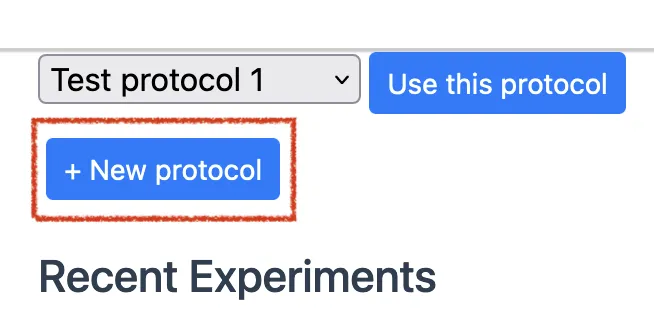
- On the console's home screen, press the "+ New Protocol" button. The protocol editor screen will open.
Editing a Protocol
- In the "Name" field, enter a name to identify the experiment.
- In the "Final hold temp" field, enter the temperature to be held after the experiment is complete. The unit is in Celsius. Note that qNinjaLite does not have a cooling function, so rapid cooling or holding at temperatures lower than room temperature is not possible.
- An experiment protocol consists of one or more steps. To add a step, press the "+ Step" button at the desired position. To delete a step, press the "Delete" button next to the step name.
- Each step has the following elements:
- Temperature
- Specify the temperature in Celsius.
- Duration
- Specify how many seconds to keep the set temperature.
- Data Measurement
- If checked, fluorescence will be measured periodically while keep the temperature. The fluorescence measurement interval can be specified in seconds, with the shortest interval being 5 seconds.
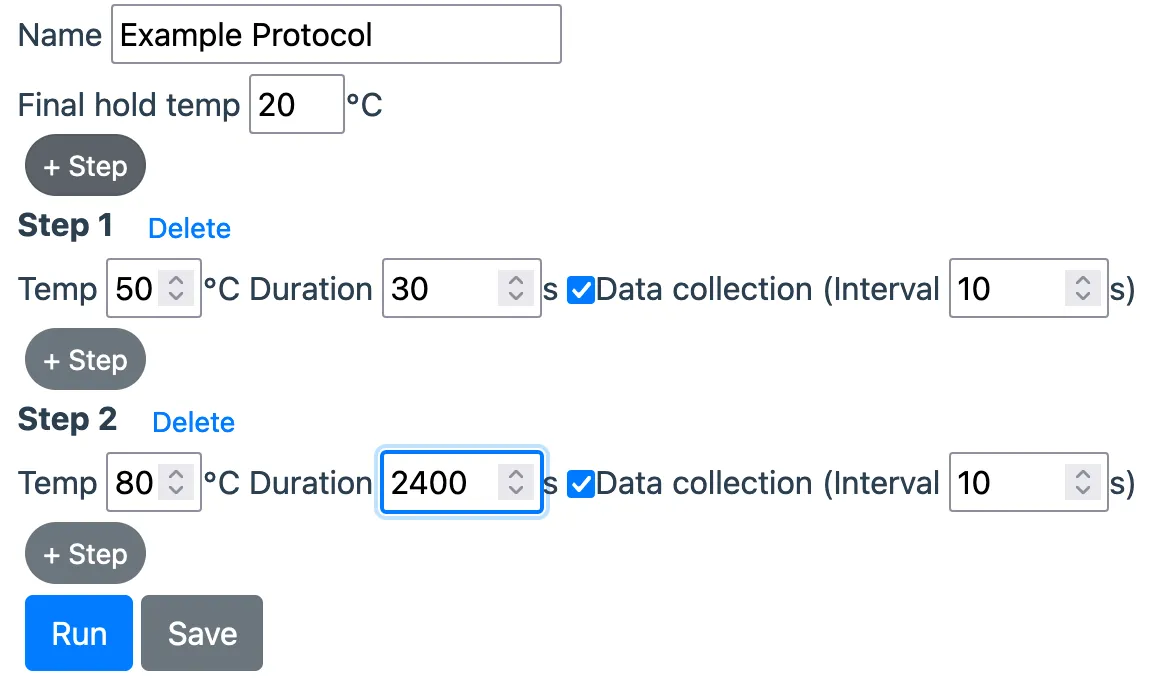
- Press "Save" to save the protocol.
Connecting to the Device
- Connect the device to an AC adapter and turn on the power.
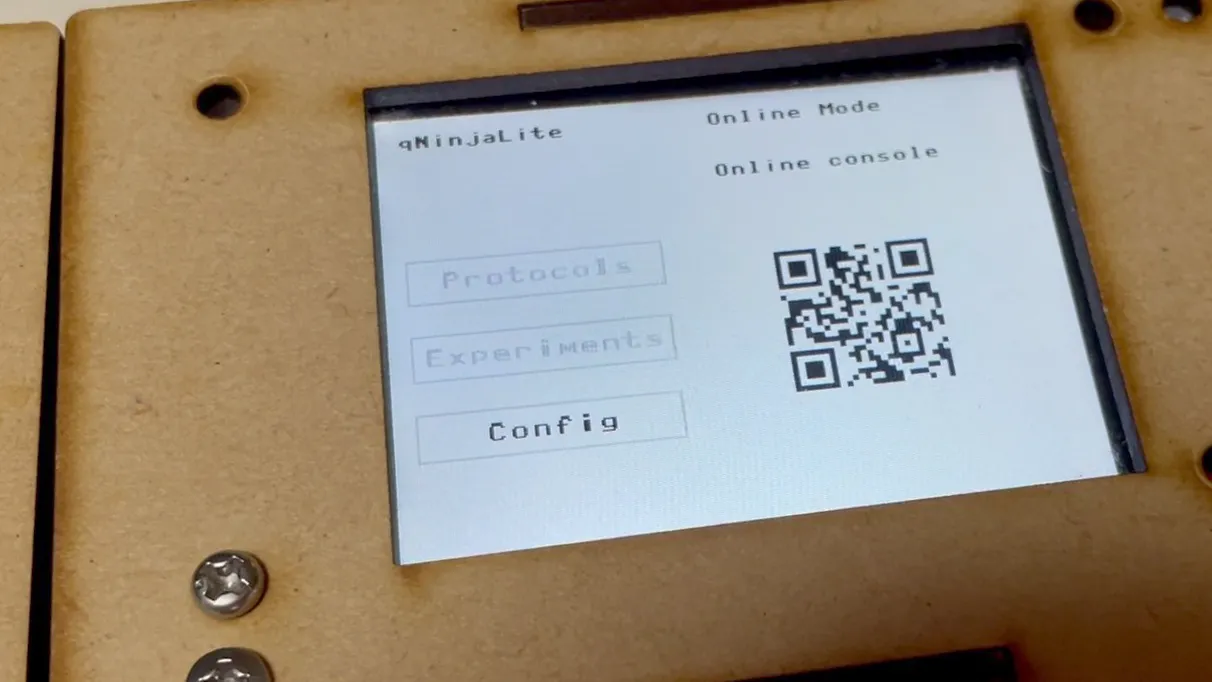
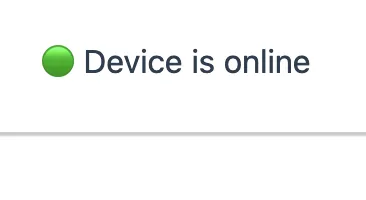
- Once the device starts up and connects to the server, an "Online" label and green icon will be displayed on the top right of the console. Now you can run experiments on the device.
Run an Experiment
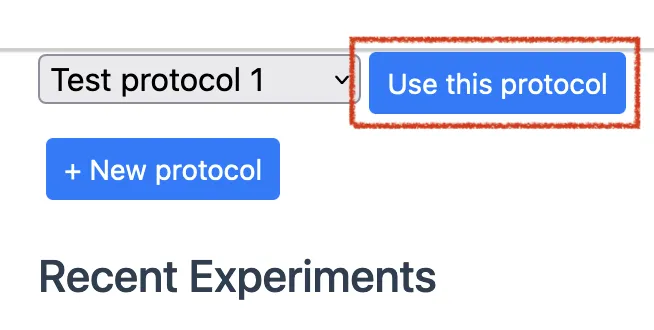
- Select the desired protocol from the protocol selection dropdown and press the "Use this protocol" button.
- Ensure that the device is powered on and displays "Online" at the top right.
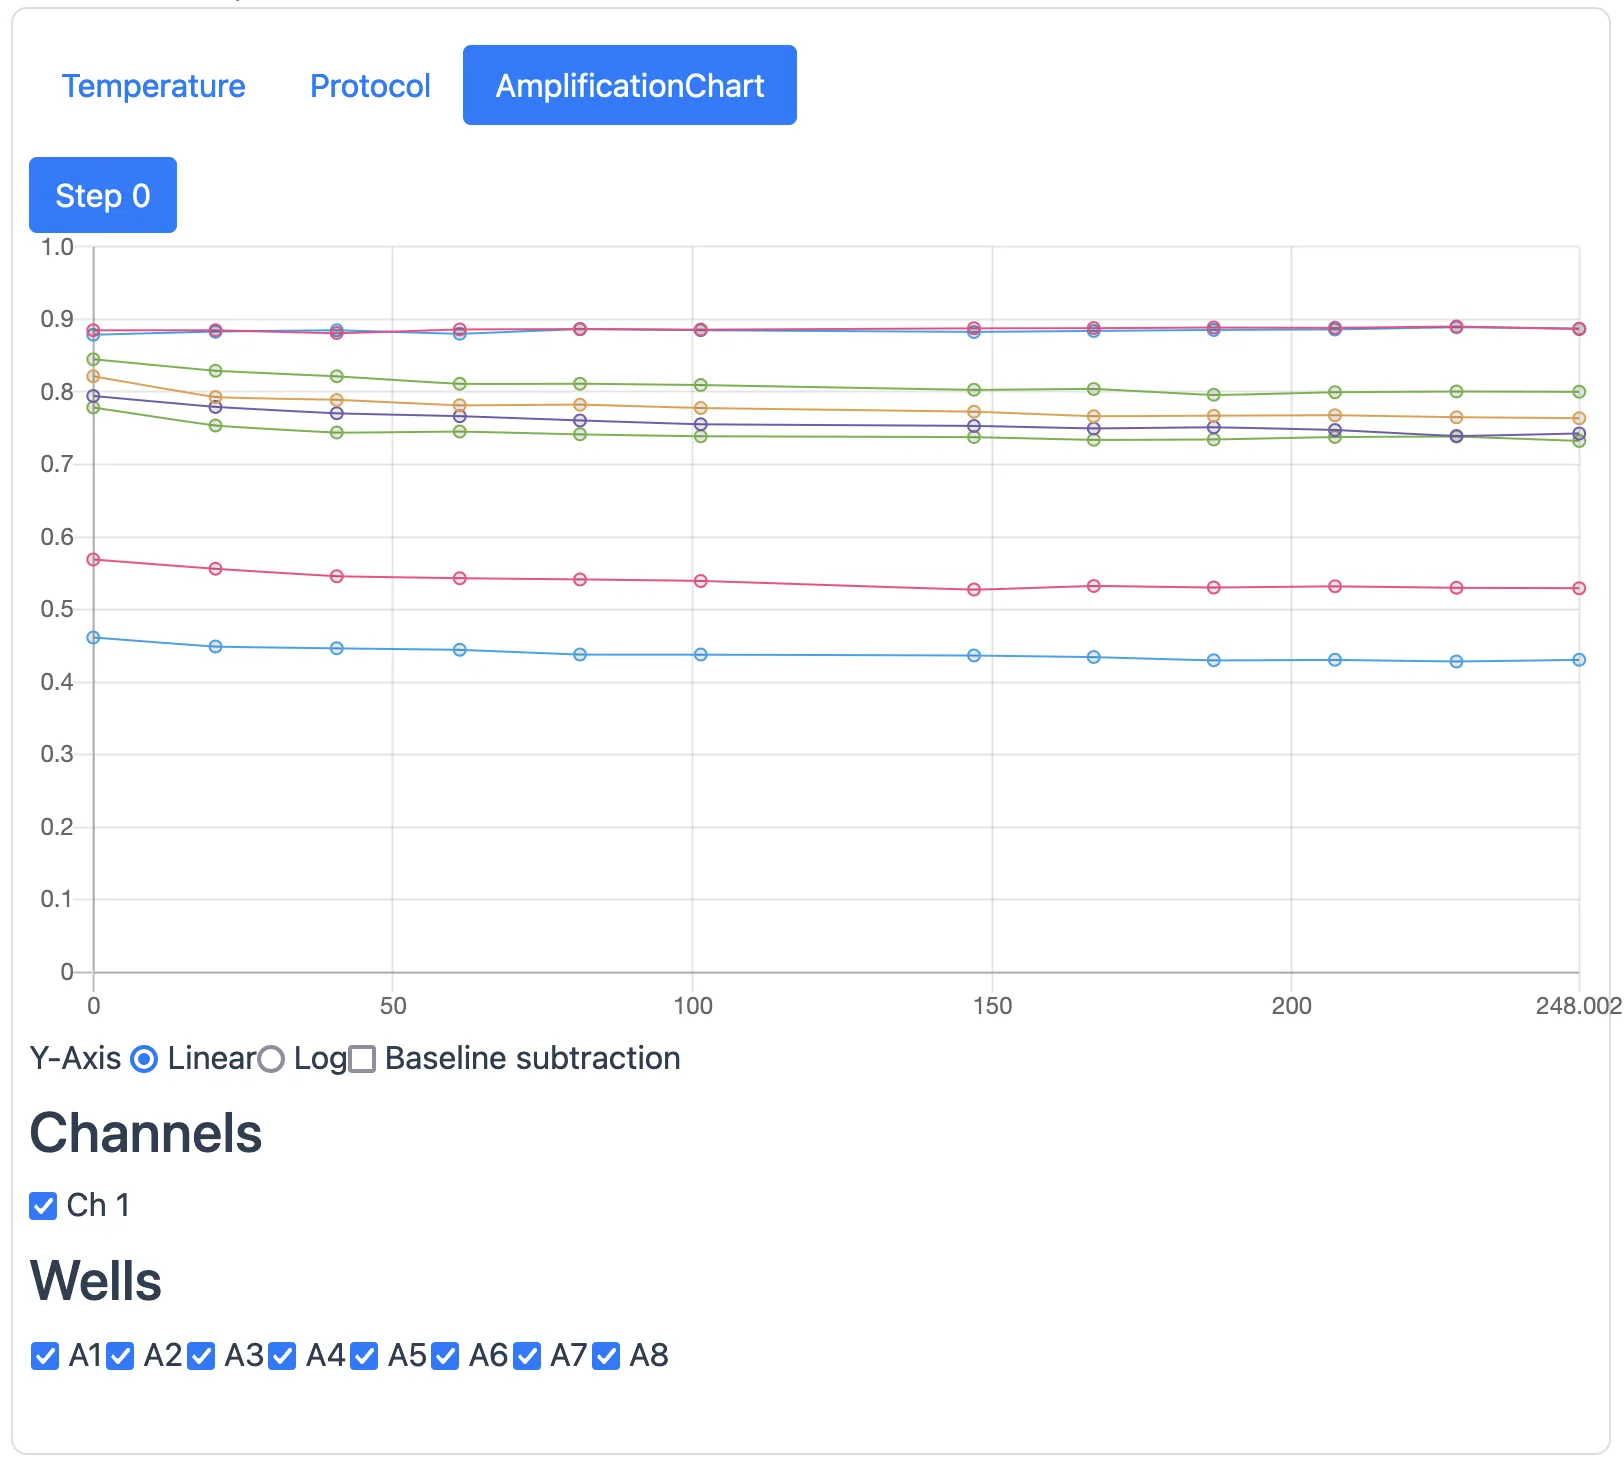
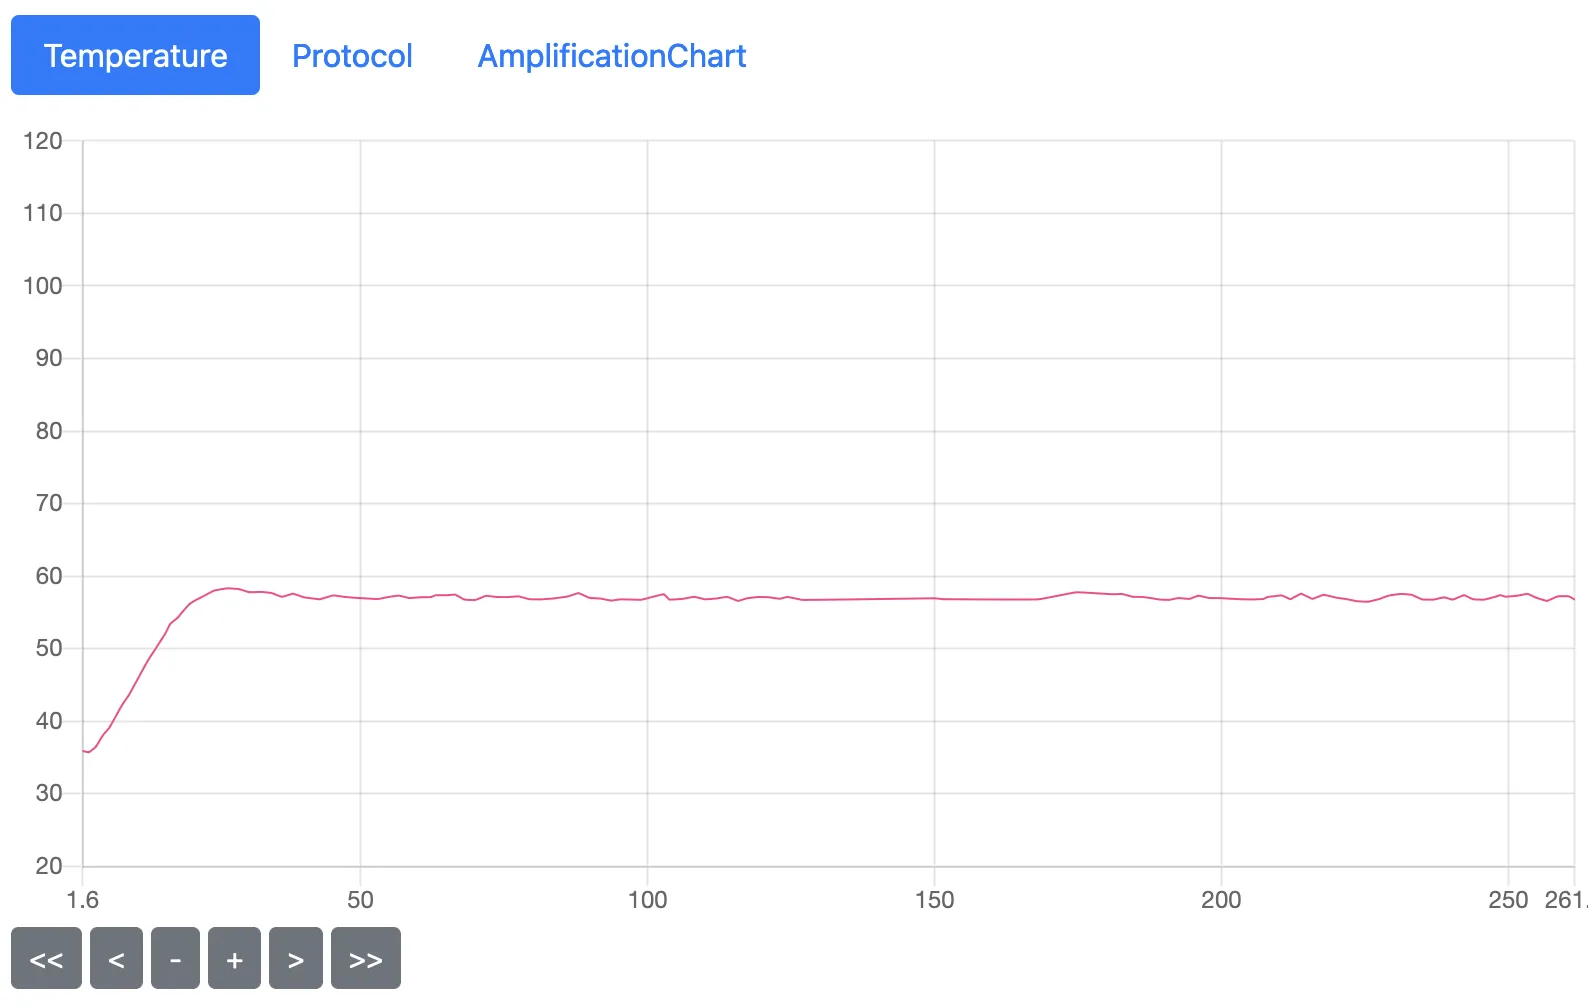
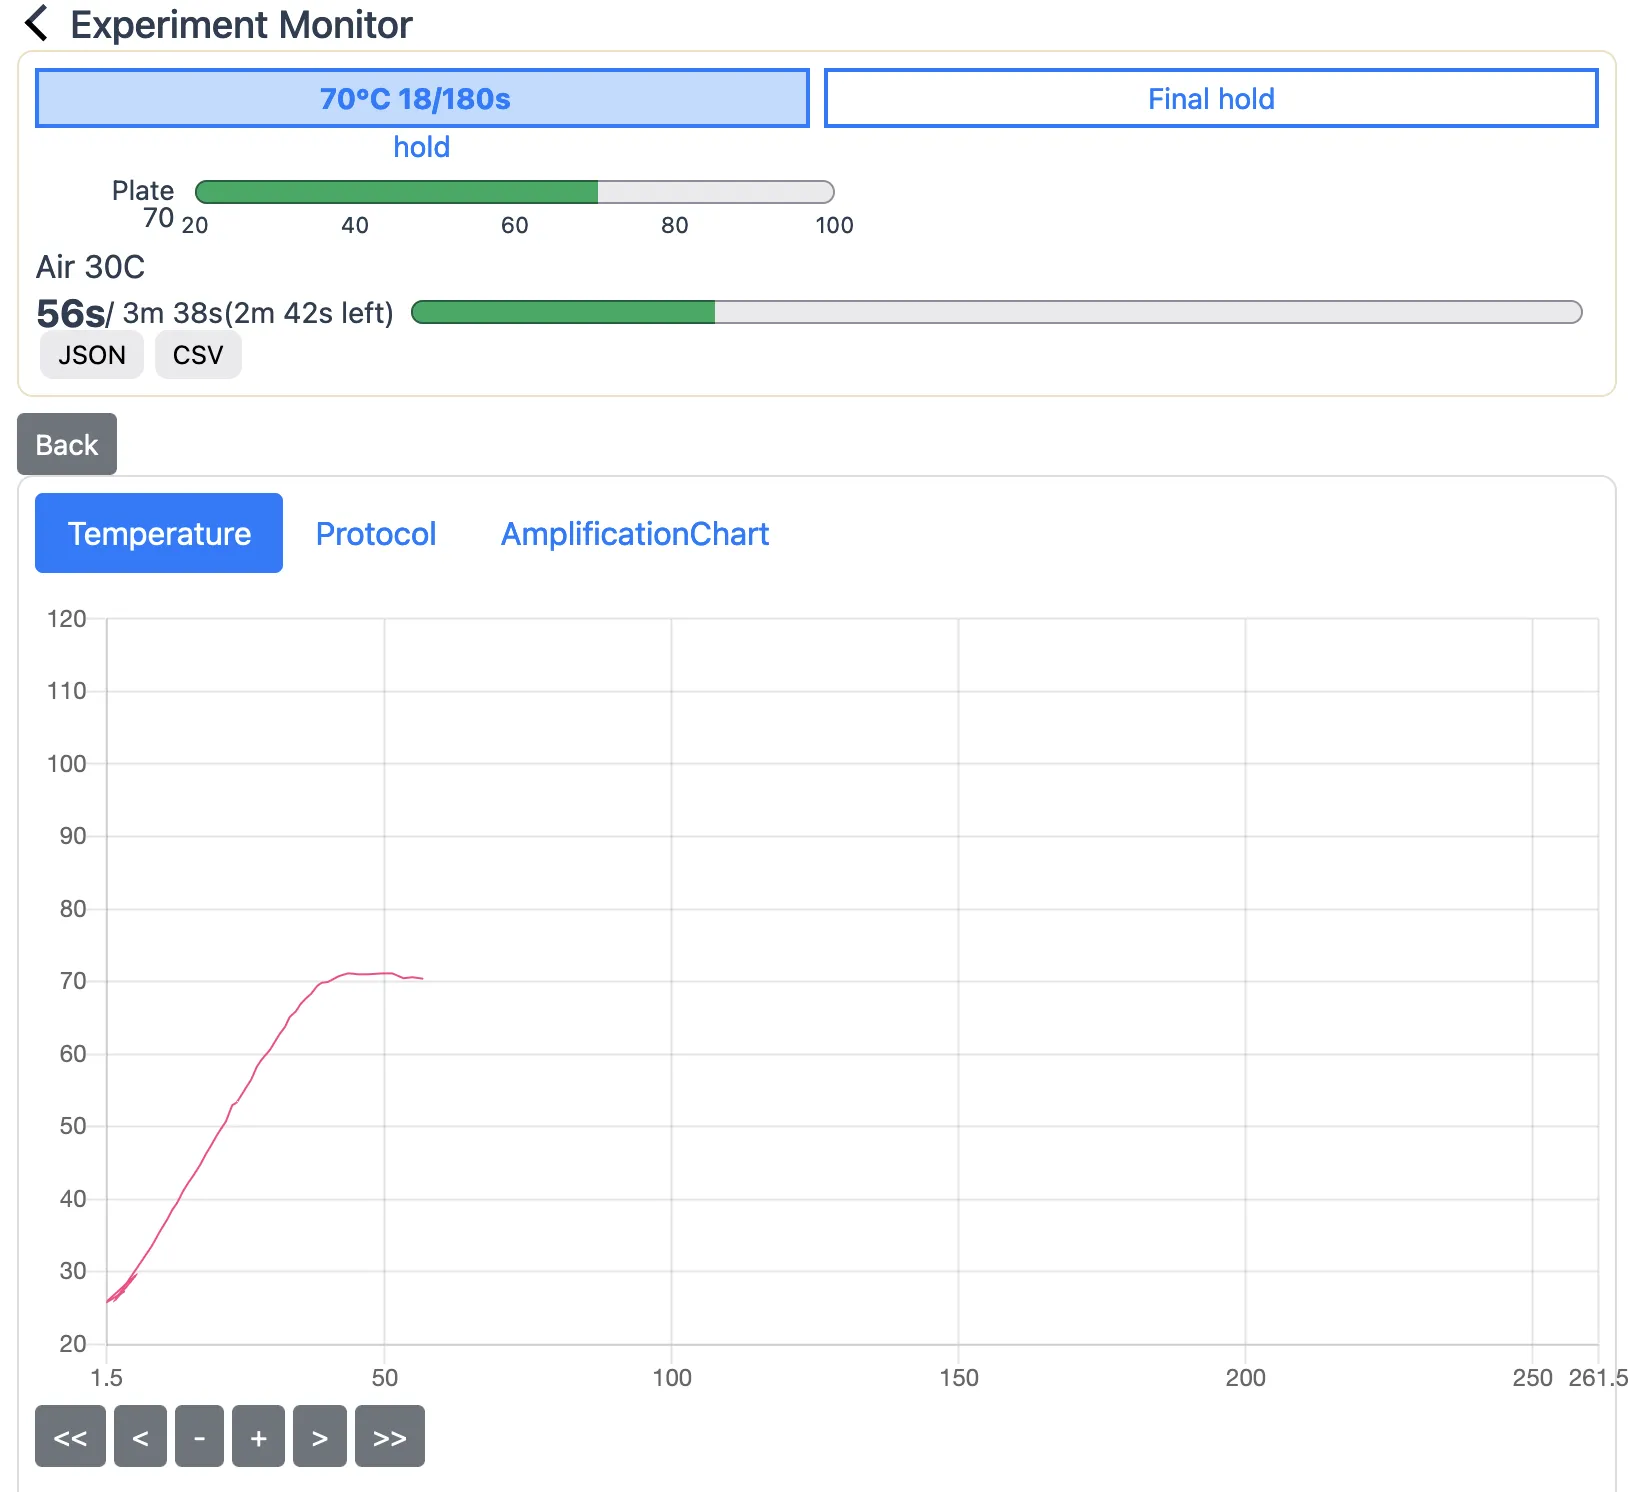
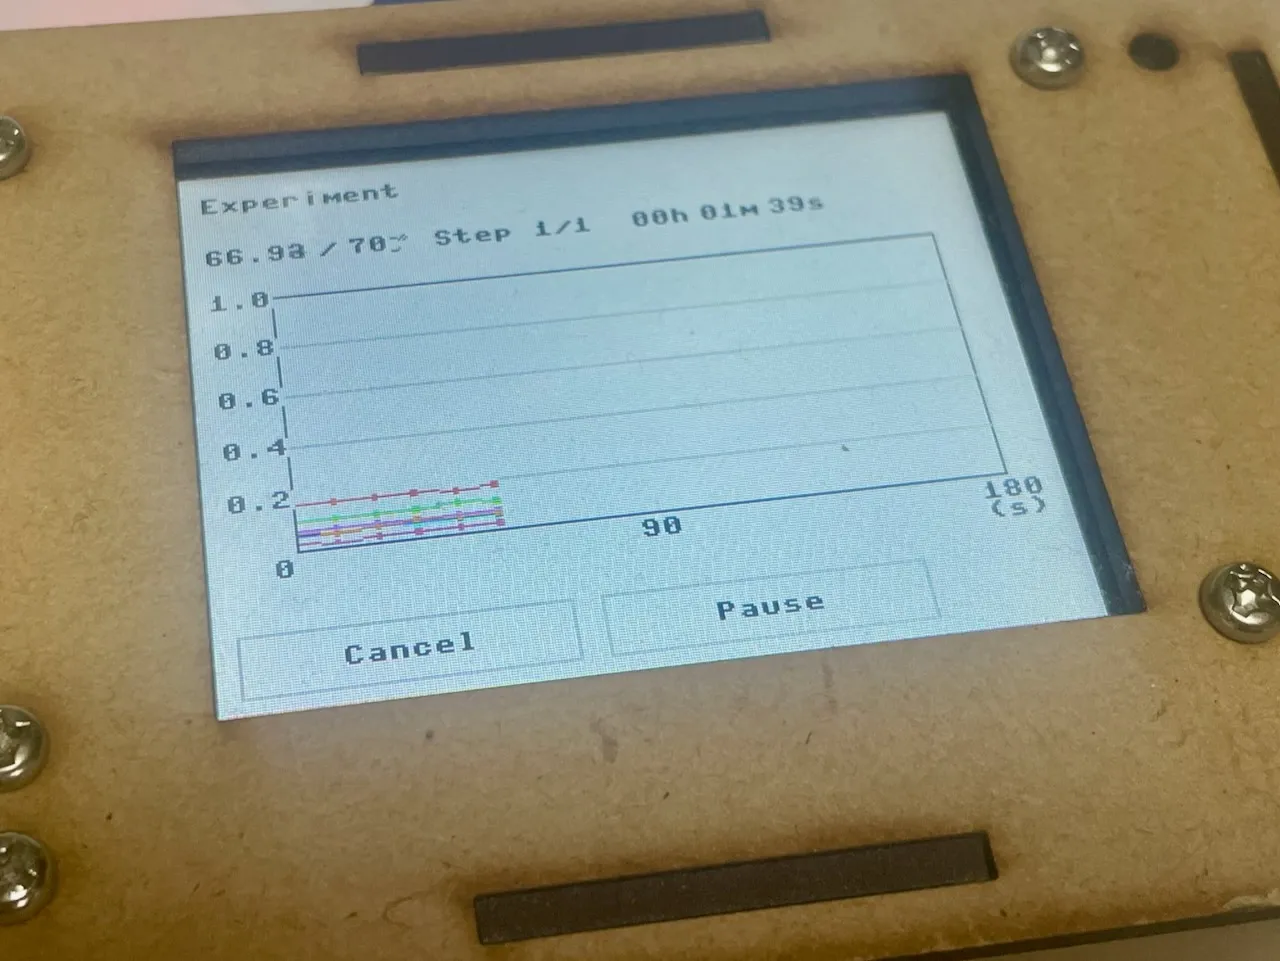
- Press the "Run" button. When the experiment starts, current temperature and fluorescence, etc., will be displayed in real time.
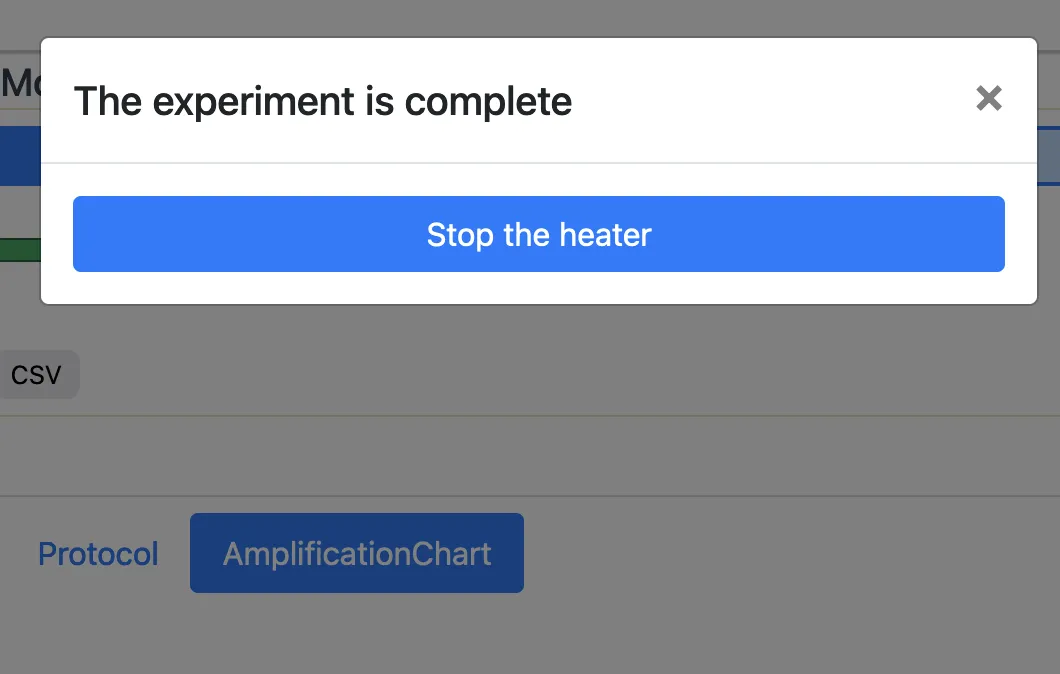
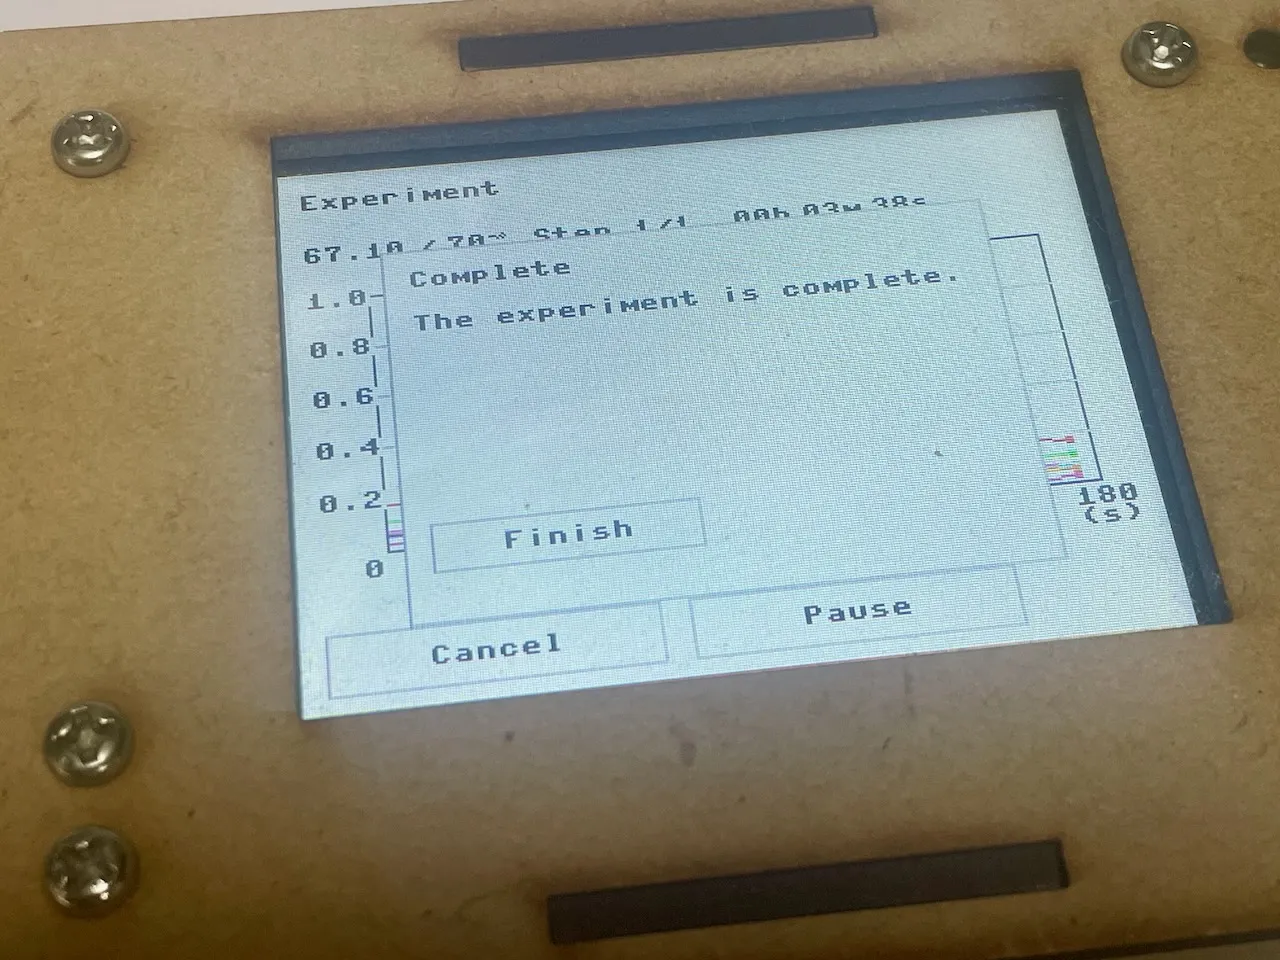
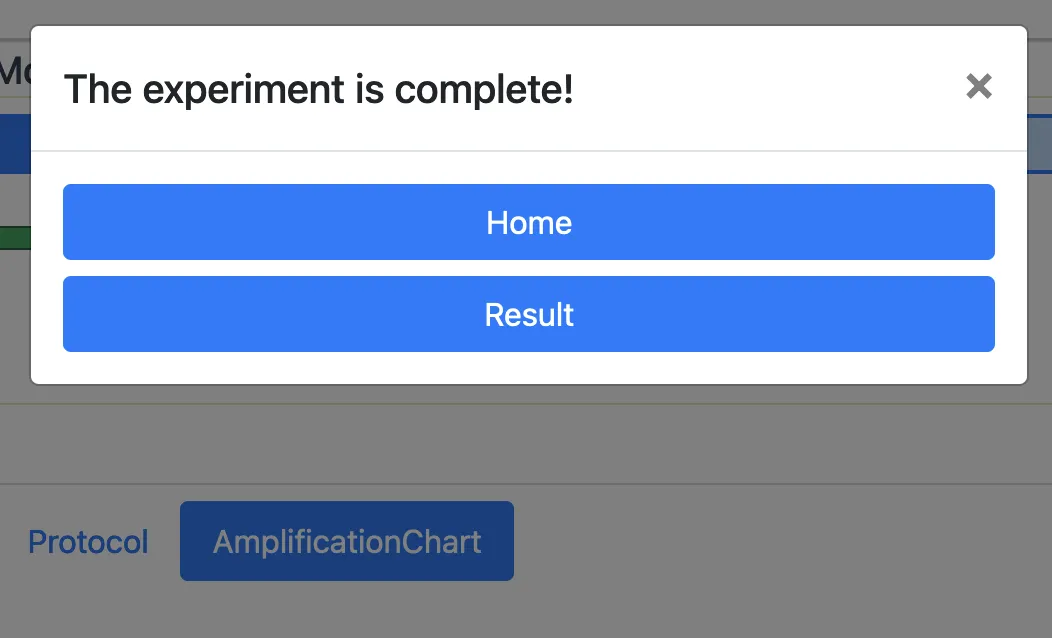
- A dialog will be displayed when the experiment is complete. It can be stopped via a button on the console or device screen.
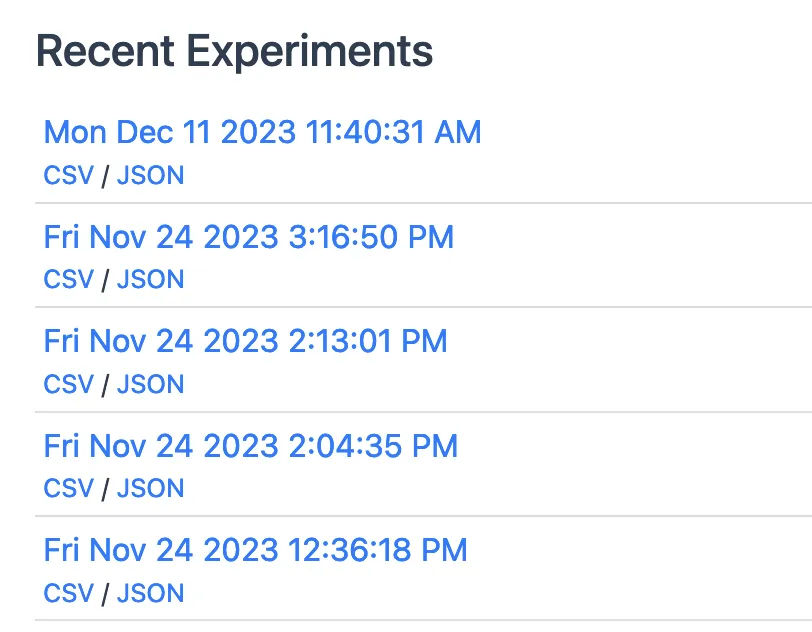
- Experiment results can be viewed from the experiment list.
Viewing and Managing Experiment Data
The experiment console displays a list of the most recent experiment data. Note that both experiment protocols and data are stored per device, not per account.
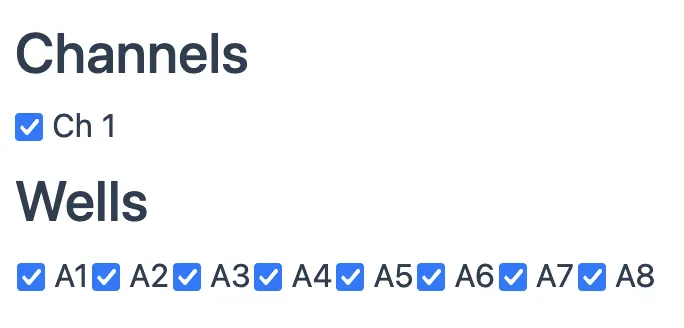
- You can toggle the display of fluorescence measurement values by channel and by tube.
Managing Experiment Protocols
You can manage your protocols. Protocols are saved per device, not per account.
- Select the protocol you wish to view from the dropdown.
- Edit the protocol as you would when creating a new one.
- Protocols are distinguished by their names. Saving with a different name will store it as a new protocol.
実験
コンソールを開く
- ログインした状態でqNinja Liteコンソールを開きます。まだログインしていない場合は、画面右上の "Login" リンクを押してログインを行ってください。
-
アカウントに登録されているセットアップ済のデバイス一覧が表示されます。使用したいデバイスを選んでクリックしてください。
実験プロトコルの準備
実験を行うには、温度や保持時間、蛍光測定のタイミングなどを含んだプロトコルが必要です。
プロトコルを作成
- コンソールのトップ画面で "+ New Protocol" ボタンを押してください。実験プロトコルの作成画面が開かれます。
プロトコルの編集
- "Name" 欄には、実験を識別するための名前を入力してください。
- "Final hold temp" 欄には、実験完了後に保持する温度を入力してください。単位は摂氏です。なお、qNinjaLiteには冷却機能がないので、急速な冷却や、室温よりも低い温度での保持はできません。
- 実験プロトコルは、1つ以上の "ステップ" で構成されます。ステップを追加するには、追加したい箇所の "+ Step" ボタンを押してください。 ステップを削除する場合は、ステップ名の右側の "Delete" を押してください。
- それぞれのステップには、次のような要素があります。
- 温度
- 温度を摂氏で指定します。
- 持続時間
- 指定した温度を何秒間保持するかを指定します。
- データ測定
- チェックを入れると、温度を維持している間、定期的に蛍光を測定します。蛍光の測定間隔は、秒単位で指定することができます。最も短い間隔は5秒です。
- "Save" を押すと実験プロトコルが保存されます。
デバイスの準備
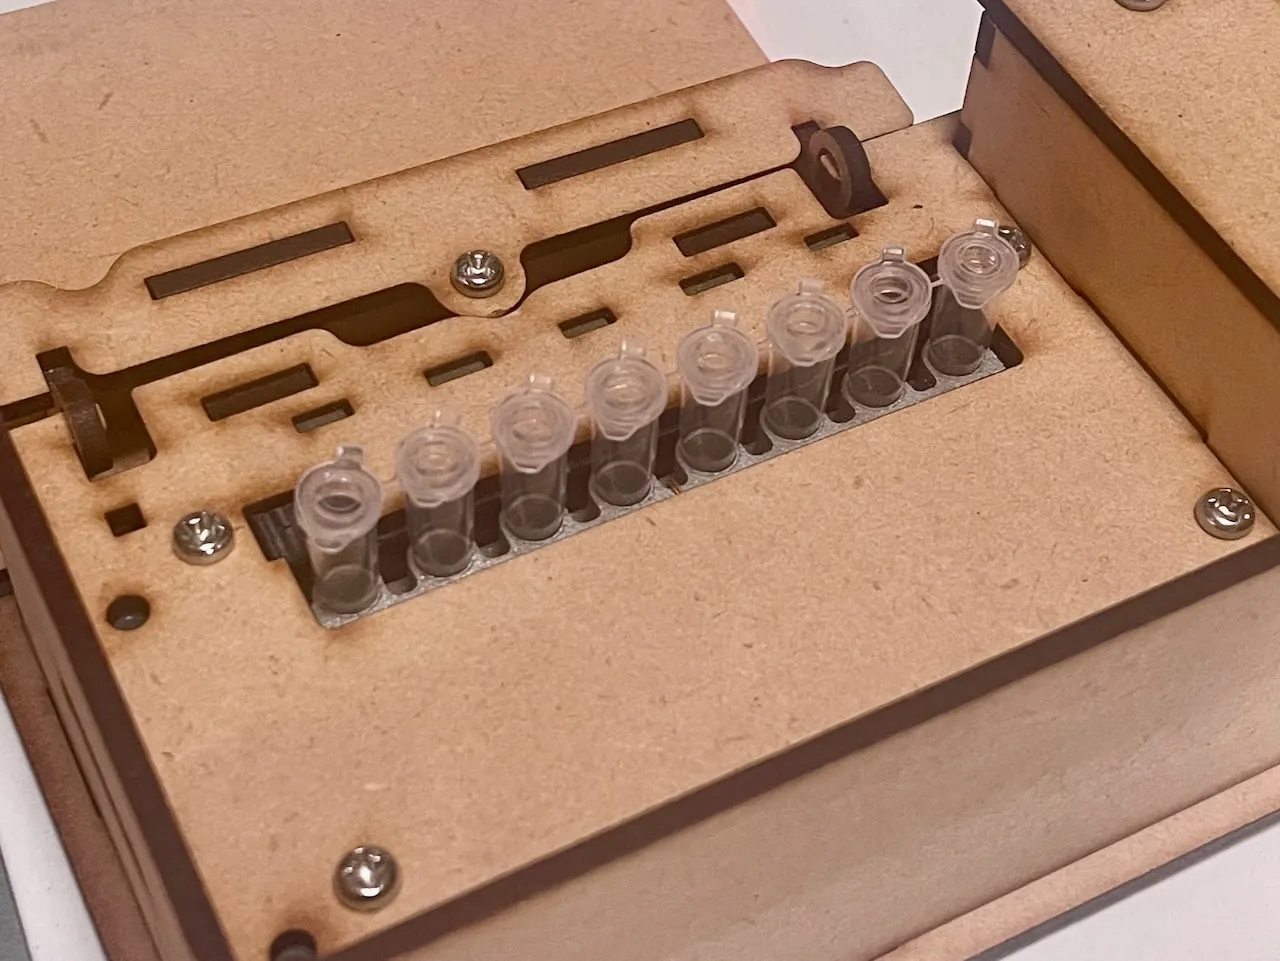
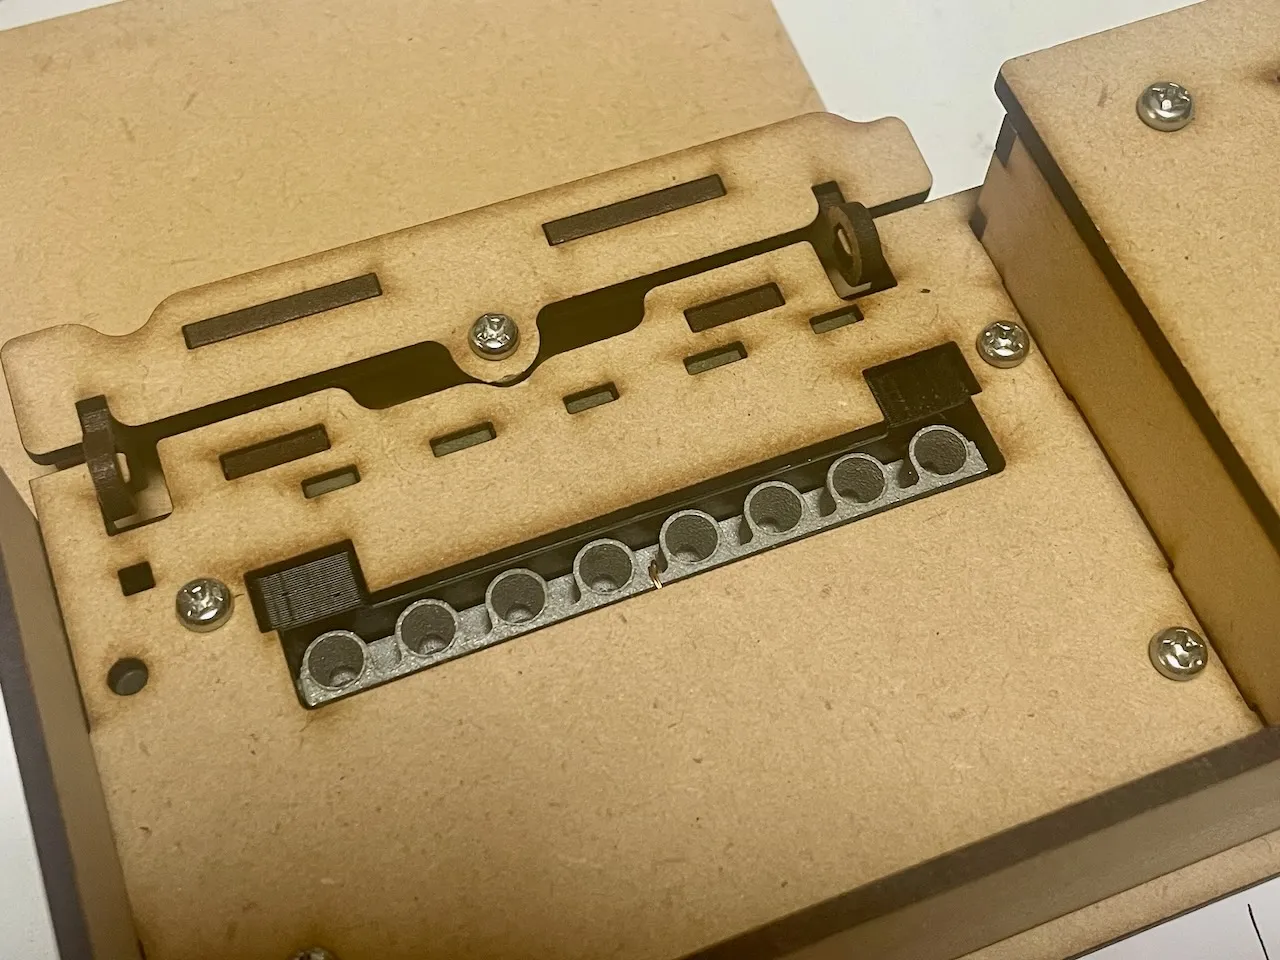
チューブをセットする
- デバイスのウェルにチューブをセットします。
起動する
実験を行う
- プロトコル選択のプルダウンメニューから実験に使用したいプロトコルを選択し、"Use this protocol" ボタンを押します。
- デバイスに電源が入っており、右上に "Online" と表示されていることを確認してください。
- "Run" ボタンを押します。実験が始まると、現在の温度・蛍光などがリアルタイムで表示されます。
- 実験が完了すると、ダイアログが表示されます。コンソールまたはデバイス画面のボタンで停止することができます。
- 実験の結果は、実験一覧から閲覧することができます。
実験データの閲覧・管理
実験コンソールには、直近の実験データの一覧が表示されます。なお、実験プロトコルと実験データはアカウントごとではなくデバイスごとに保存されます。
- 蛍光の測定値はチャンネルごと・チューブごとに表示非表示を切り替えることができます。
実験プロトコルの管理
プロトコルを管理することができます。なお、プロトコルはアカウントごとではなくデバイスごとに保存されています。
- プルダウンから、閲覧したいプロトコルを選んでください。
- プロトコルの新規作成時と同様に編集してください。
- プロトコルは名前によって区別されます。別名で保存すると、新しいプロトコルとして保存されます。